

DIY – Accent Chair Makeover
Hello! My name is Handan. I can paint! Whoopieeeee!! That pretty much sums up the way I feel when posting right after one of Greg’s fabulous projects. Hahahaha ? Joking aside, I am indeed dying to show you what I painted this week, because not only is it my first chair makeover, but also, I am so happy that I completed another item in our long living room to-do list. Little-by-little, we are getting there! DIY – Accent Chair Makeover!
Now, before going into the details of this accent chair makeover, let me first show you the before pictures.
Not bad looking, is it? Ok, maybe it had a disgusting, filthy seat and dozens of dings and scratches that I had to deal with, but for a Put & Take find, this was just brilliant!
Despite the looks, this chair is made from good hardwood – strong and sturdy and in almost perfect condition. Look at the bottom of that seat – it still had its protective nylon in perfect condition. For $0 cost, it doesn’t get better than that, right?
Being extremely happy with my Put & Take find, I straightaway started working on it. First, I unscrewed the cushion, so it wouldn’t be in my way when I painted the chair’s frame.
Then, using some wood filler here and there, I filled (and sanded) all the areas that needed repairing.
After dealing with the cosmetic issues, it was time to decide on the fabric and the paint color. Decisions, decisions…this part is never easy for me. I went through all the fabric that I had on hand. Drop cloth, burlap, french script pattern, multi-color fabric, single-color fabric… nothing I had excited me. Then I remembered the tapestries we bought when we were in India, so I gave those a try.
Both are charming, aren’t they? That is why it was rather hard to decide. And Greg wasn’t any help there either!
H: Hey babes, which one do you like better?… black…or blue?
G: [not looking up from his video game] Blue.
H: But babes, you need to take a look. I know blue is your favorite color, but look at this black one also. Don’t you think it goes better with the room?
G: [twisting his iPad around as he battles aliens, but still not looking up] Blue.
H: Who wants a martini?
G: [looking up from his game, at last] Hmmm?!
H: Yeah, now which one do you like better? Black or blue?
G: [realizing that no martini has appeared and looking back down at his game] Blue.
I must have changed the seat about 10 times in between the two colors, but I just couldn’t decide: while Greg liked the blue, the black looked better to me. So I decided “not to decide” until I painted the chair. I grabbed my brush and some homemade chalk paint custom color-matched to Old White…
…and started painting the chair with thin coats. Ok, here’s a hint for painting with chalk paint: with one normal thick coat, chalk paint will cover with no issues. But when you are using chalk paint, the thicker the coat you apply, the more brush marks will show. Some people like that and call it “character.” I call it…never mind… ?
Anyway…the same thing happens with my homemade chalk paint. One coat would cover this chair with no issues. But I don’t like having brush marks on something I spend my time and energy to paint. This is why I always try to go as thin as I can with each coat of paint.
This was how it looked just before the first coat finished…
…and this was how it looked after 3 thin coats of paint. Just perfect!
Now it was time for sanding. I recently bought a roll of ultra flexible sandpaper to try on curvy surfaces. Since the chair was entirely curved surfaces, I wrapped an old sanding sponge with the flexible sandpaper and got on with my sanding. Oh boy…do I love that stuff! If you ever need to sand curvy surfaces by hand, I recommend nothing else but 3M ultra flexible sandpaper. You will love the results you’ll get!
When I finished sanding, I first vacuum-cleaned the chair (to get rid of the sanding dust), then I waxed it with Annie Sloan clear wax.
Waxing was followed with buffing. As usual I used an electric buffer to bring that subtle shine I like.
Next, I worked on the upholstery. Using a staple remover, I started removing all the staples from the seat.
I have to say, this staple remover is such a handy-dandy tool. I knew I would have gone nuts if I were to try doing it with a flathead screwdriver. After removing a bunch of staples (169 to be exact!) in no time and with no fuss, I can easily attest that it’s a useful upholstery tool ?
Once the old upholstery was off, I started showcasing both Indian tapestries for us decide: we both liked the black one better with white chair, at least in this room. Greg still loves his blue, but he realized that the colors of the blue tapestry didn’t work in our family room. So using my electric staple gun and 3/8 in lightweight staples, I re-upholstered the seat with the black Indian tapestry.
As the final step, I placed the seat and screwed it back to its place, and I was done with my accent chair makeover!
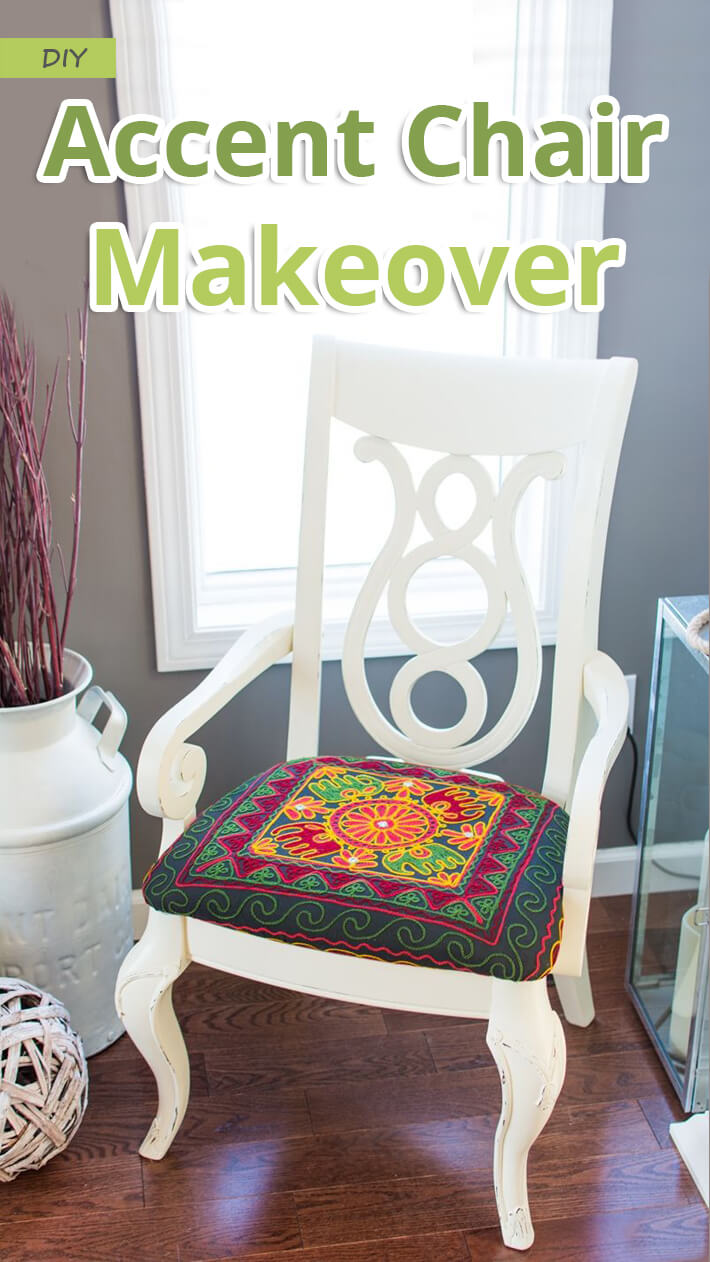
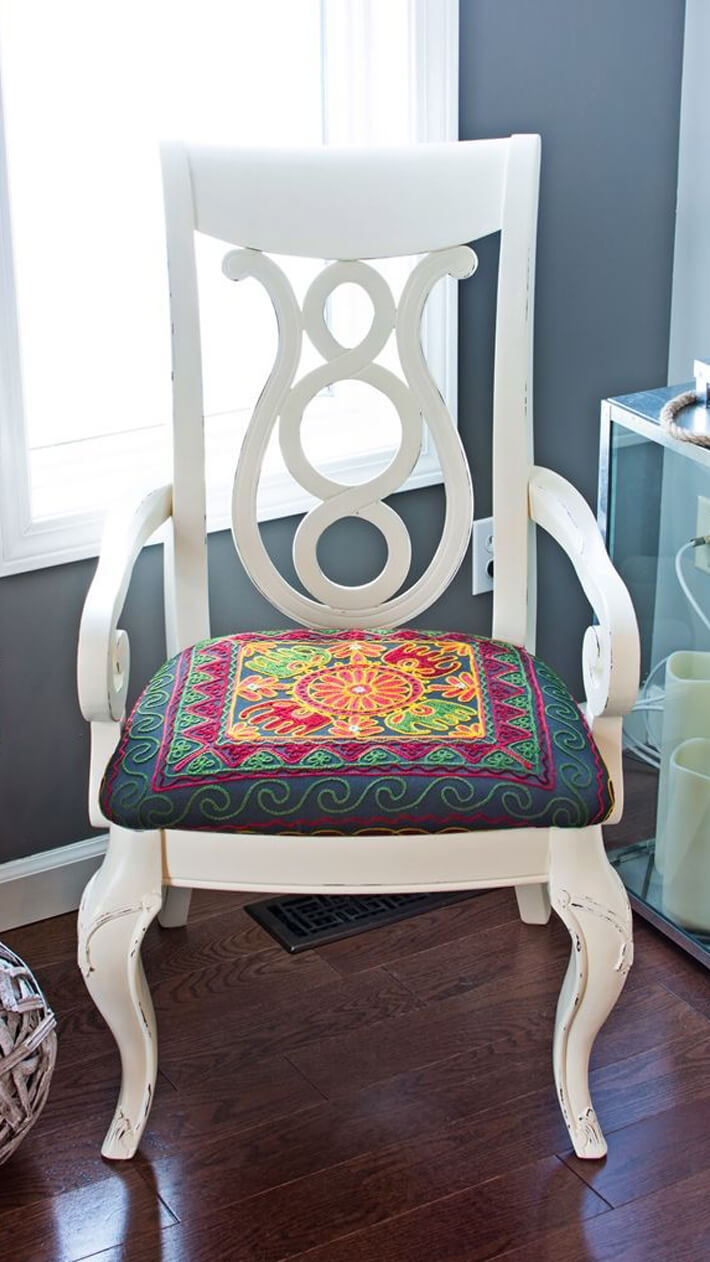
Here is it is! Not too shabby, is it?
This type of exotic and colorful pattern is not for everyone, but I sure am loving it.
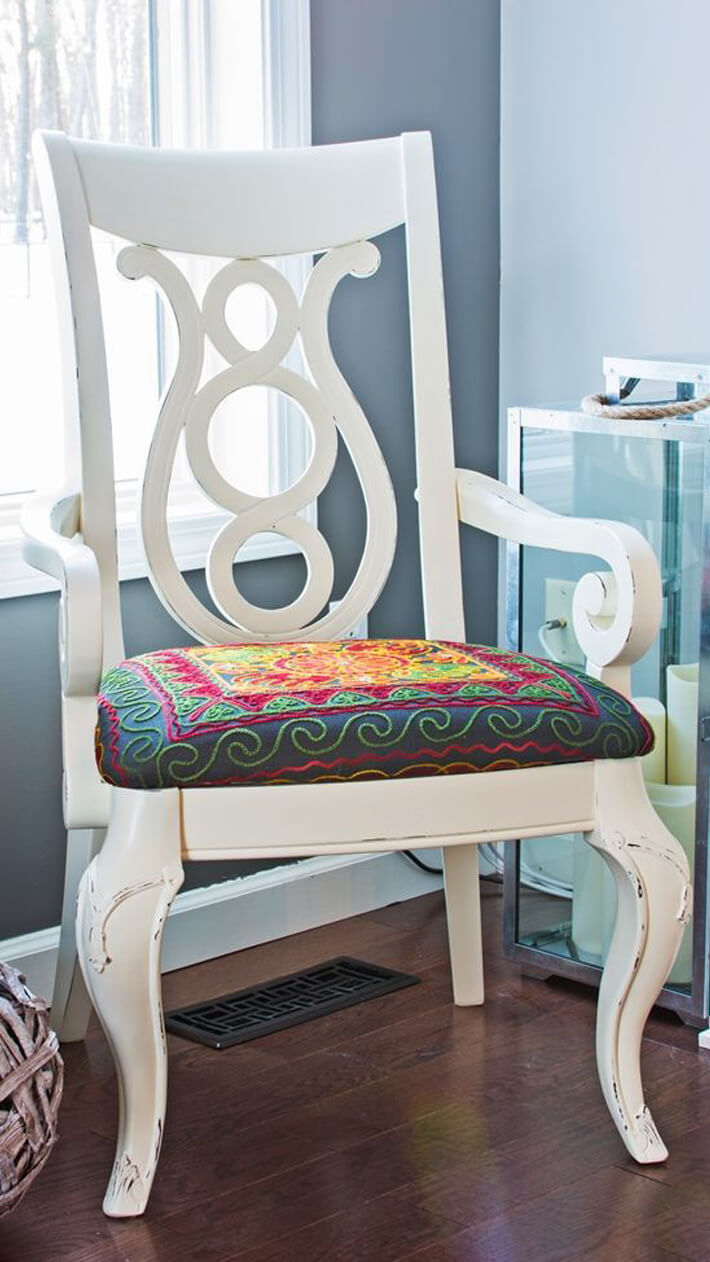
As usual, some close-up pictures for you to see the painted parts in detail.


I hope you liked my first-ever chair project! This summer, I will be doing many more for our dining room. But with those, I will be using my paint sprayer, as painting a chair with a brush is not the easiest thing ever. Ok, it is definitely easier than making a turquoise inlay cheese board, but hey… my name is Handan, and I can paint! Hahahaha ?
Source: The Navage Patch
Get more stuff like this
Subscribe to our mailing list and get interesting stuff and updates to your email inbox.
Thank you for subscribing.
Something went wrong.


