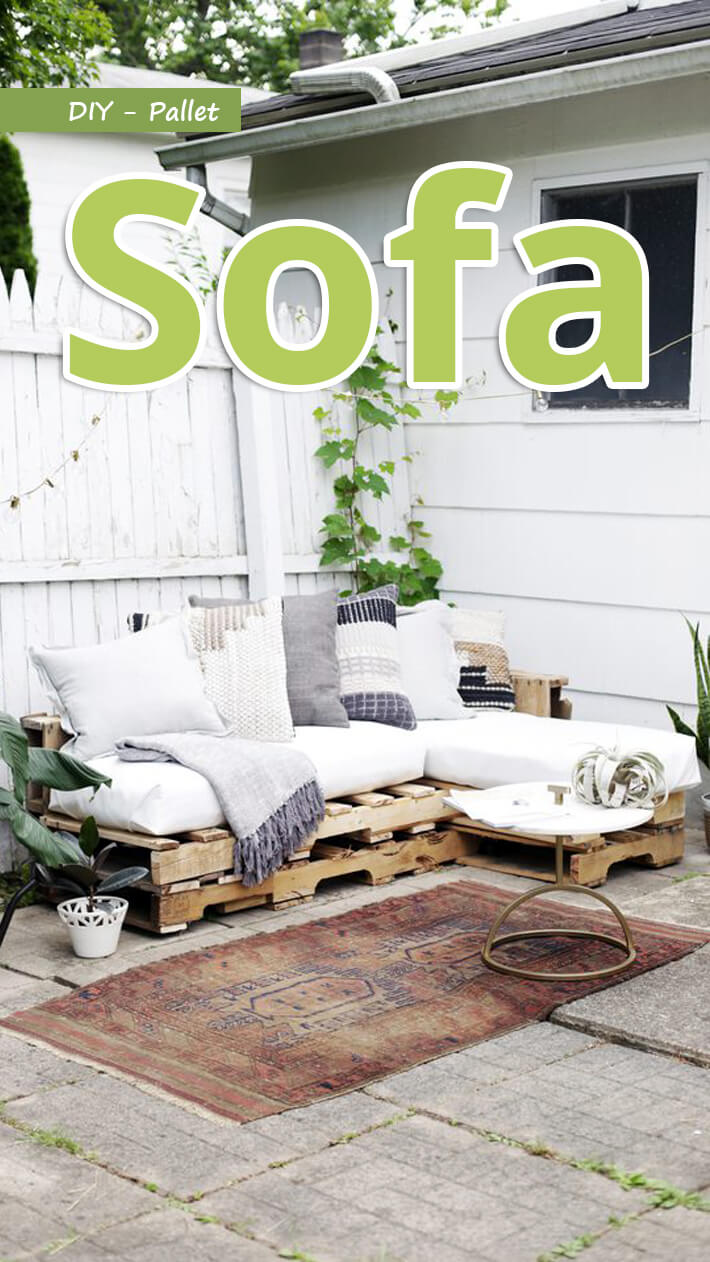
DIY – Pallet Sofa
Bring rustic charm to your outdoor space with a sofa made from pallets. This is an easy, affordable way to build a sofa that can be customized to fit your space and needs. Follow the tutorial below to make an L-shaped DIY – pallet sofa (with no-sew cushions!), and then go ahead and enjoy the lazy days of summer!


Things You’ll Need
| Pallets (number will vary depending on size of sofa; we used 4) |
| Outdoor cushions (number and size will vary depending on preference) |
| Fabric (optional, 3 to 4 yards) |
| Safety pins |
| Fabric water shield (optional, if using fabric that is not weatherproof) |
| Circular saw |
| 2 x 4, 8 ft. long |
| Drill with driver bits |
| Screws |
| Orbital sander |
Tip
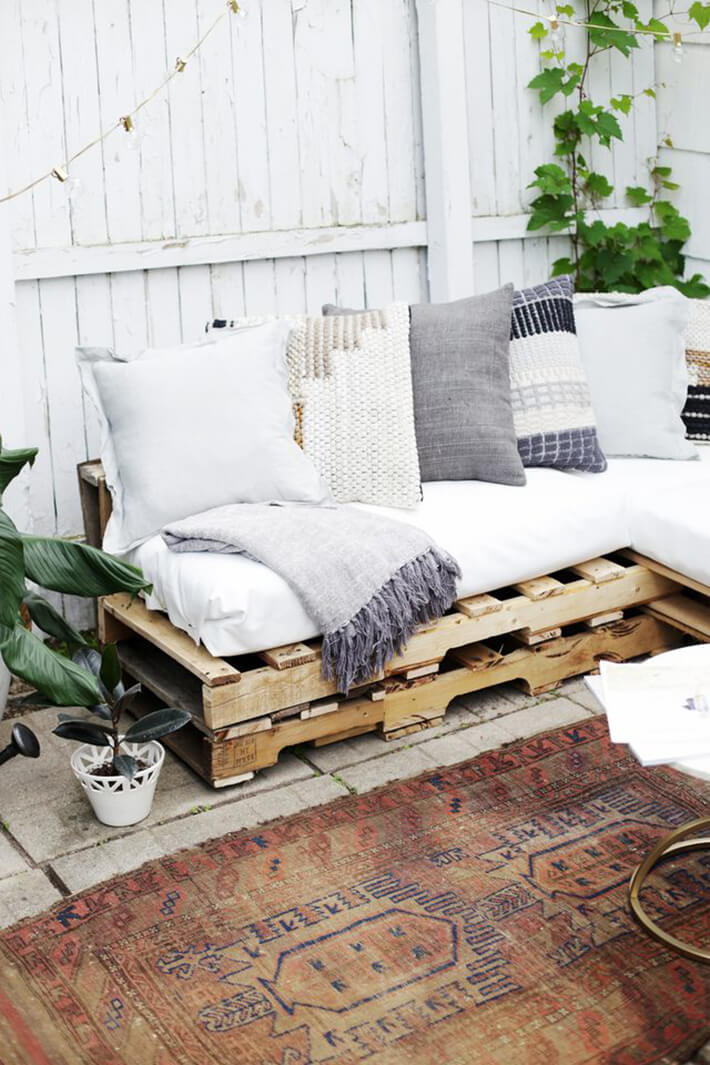
We found outdoor cushions on clearance, covered them with fabric, and then sprayed them with fabric water shield (or, you could just use outdoor fabric). This is an easy, affordable way to customize outdoor cushions. The fabric can also easily be removed to wash when needed. We used a total of four 20 x 43-inch cushions to make our two seat cushions, stacking two together to make one cushion for each section of the sofa.
Step 1: Cover Cushions
Cut the fabric into two pieces, each measuring 50 x 60 inches. Stack two 20 x 43-inch cushions on top of each other. Lay them on top of a piece of fabric, and fold the long sides over the cushion and pin together. Fold the short ends of the fabric towards the middle of the end of the cushion, pin into place, and then fold the bottom up over the end of the cushion, pinning them into place (the action is like when wrapping a gift). Repeat with the remaining cushions and fabric. Note the measurements (length and width) of your cushions, and use these dimensions when cutting pallets for the base of the sofa.

Step 2: Cut the Pallets
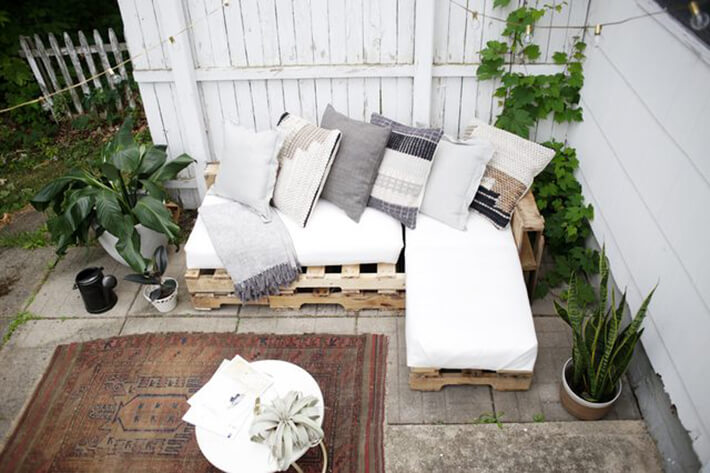
Using the measurements from your cushions, measure and mark where you will need to cut pallets. Our pallets are 43 x 48 inches, and our sofa was made from two layers of pallets, with the main L-shaped sections cut from full size pallets, and one end extended with partial sections of pallet.

Use a circular saw to cut the base pallets to size. Our pallets were 48 inches long and 43 inches wide, which we cut into an L-shaped piece with a 43-inch side and a 48-inch side; the legs of the “L” are 20 inches deep. Cut a second pallet to this same size and shape (the pieces will be stacked). Now, cut another pallet into two 15 inch x 20 inch pieces, which will be used to extend one side of the base of your sofa.

Step 3: Cut 2 x 4 Cleats
Cut four 10-inch long pieces from the 2 x 4, using a circular saw. These pieces will be used to secure the pallet extensions on one side of the sofa.

Step 4: Attach Pallets
Attach the two 15 inch x 20 inch pieces to the 48-inch-long side, using the 10-inch-long 2 x 4 pieces as cleats screwed inside the base pieces. Slide a 2 x 4 into the large L-shaped pallet piece, and screw it into place. Half the 2 x 4 should extend out the end. Slide a small section of pallet onto the 2 x 4 and secure the pallet to it with screws driven through the pallet and into the 2 x 4 extension. This will make the overall dimensions of the sofa 63 inches x 43 inches.
Repeat this process for the top level, first stacking an L-shaped pallet piece onto the lower one, then attaching an extension onto the long side, using a 2 x 4 cleat. Using screws, secure the top and bottom pieces of the sofa together.

Step 5: Cut and Attach the Back of the Sofa
Cut a pallet pieces to length and width for the back of the sofa. One piece will measure 63 inches long x 20 inches tall, the other piece 23 inches long x 20 inches tall. Attach the back pieces to the sofa with screws.

Use pieces of leftover pallet board to secure the seam between the back pieces. We used three pieces, each measuring 3 1/2 x 6 inches.

Step 6: Sand the Pallets
Use an orbital sander to sand the sofa as needed, making sure to remove splinters and smooth the wood where bare legs might rub against the the frame.


Step 7: Place Cushions on tbe Sofa
Set your cushions on then the sofa, then apply fabric water shield to them, if needed, following the directions on the can.


Source: eHow (All images: Caitlin McGrath)
Get more stuff like this
Subscribe to our mailing list and get interesting stuff and updates to your email inbox.
Thank you for subscribing.
Something went wrong.