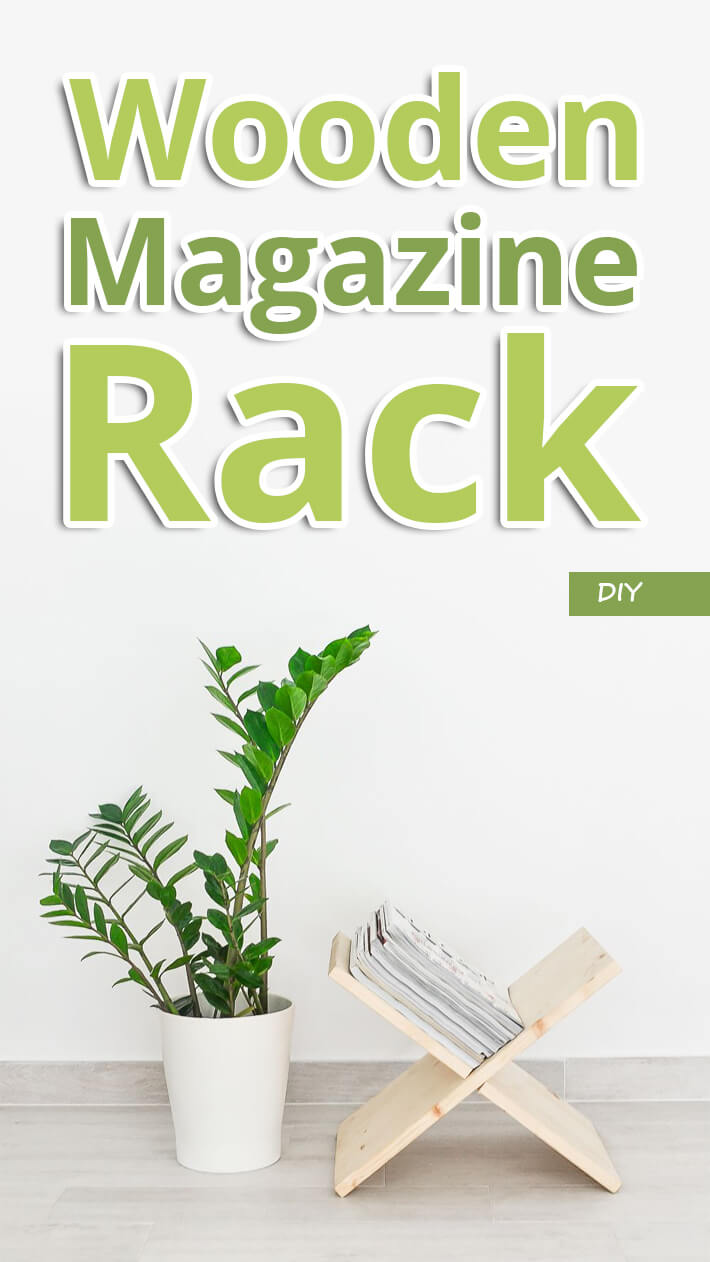

DIY – Wooden Magazine Rack
I will start right off by saying I’m not a big fan of magazines lying around the house regardless how pretty their covers are. But at the same time I’m the worst with keeping them in order, so if you enter my house you will spot one in the hallway, a pile in a living room – right next to the sofa and under the coffee table, a few on a nightstand, in the kitchen and so on, I guess you got the point already. This magazine disorganization also leads to frequent drama at home, because occasionally somebody flips over them (ooops!). DIY – Wooden Magazine Rack.
As you can tell, an immediate solution, would be highly appreciated here. Do you have this kind of ‘problems’ at home as well? If yes then you might find this DIY very useful. There are many magazines holders and racks available out there but I was in a mood to create something a little bit different. The main idea was to make a little stand for magazines, where they would still be on display and accessible, so I don’t have to spend hours looking for them, but at the same time they would disappear from the floor and furnitures where they (clearly) don’t belong.
I really like simple pieces and raw wood as a material, so I got some wooden planks and made this X shaped holder. The great thing about raw wood is that you can paint it any color, giving it a totally different look and feel whenever the mood strikes. I decided to keep mine as it is for now but I might add some delicate color to it, in a few weeks time, just to change it’s look a bit.
Here is how you can make wooden ‘X’ shaped magazine holder:
You will need:
| 2 equally sized, rectangular shape wooden planks |
| meter / ruler |
| laser wood saw |
| a pencil |
Tip:
This project involves wood cutting, however If you are not confident to use a saw, you might ask at your local hardware shop to cut the pieces of wood for you in the desired shape.
Instructions:
1. Using a pencil, draw on both wooden planks the areas that have to be cut out. They have to be right in the middle of each plank, and their size has to match the thickness of the planks to fit in.


2. Once the areas have been marked, use a wooden saw to cut the pieces out.


3. Then combine them just like a (3D) puzzle – that’s it!


Source: DIY Wooden Magasine – Homedit
Get more stuff like this
Subscribe to our mailing list and get interesting stuff and updates to your email inbox.
Thank you for subscribing.
Something went wrong.


